Everything a company admin does, from an empty account to a company that is receiving documents and exporting them. This is the order the app itself uses — it is not the order the guides are numbered in, and the difference matters at step 4.
What the app will show you
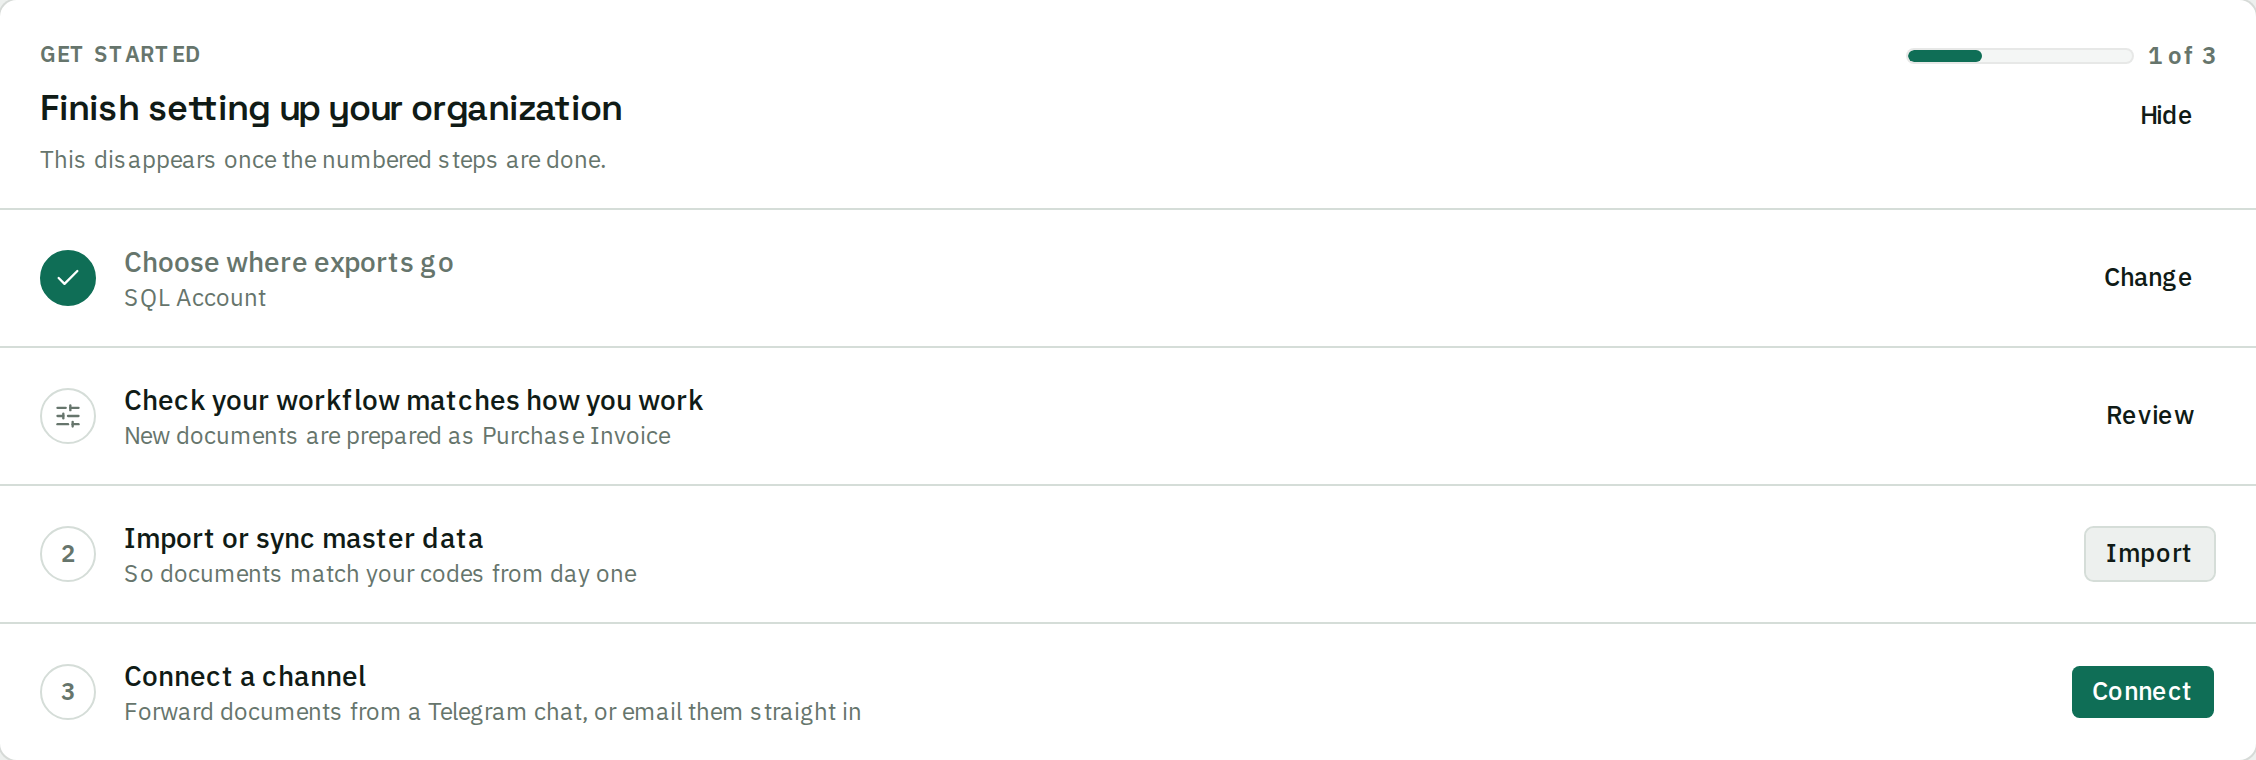
Home carries a setup checklist. It is useful, but it is not the whole list: it tracks three things, and disappears once those three are done. Steps 3, 7 and 8 below are not on it.
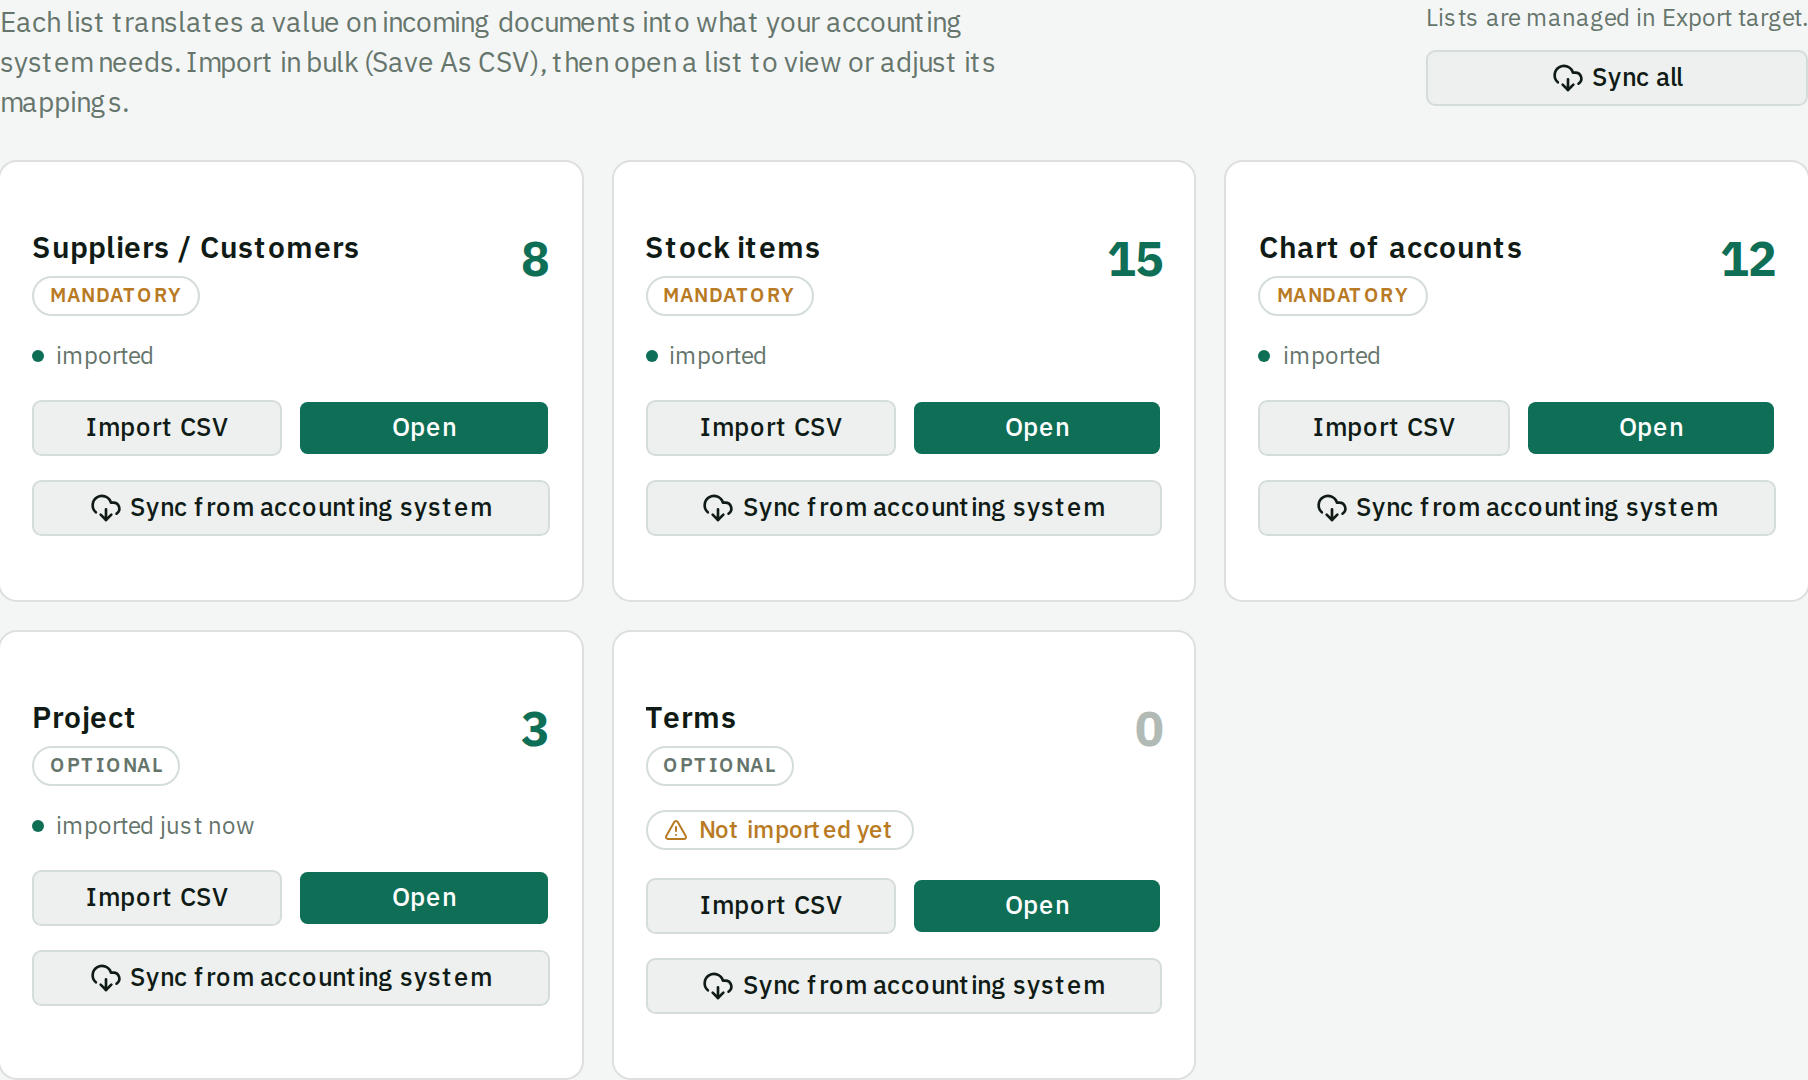
Notice that Check your workflow sits above Import master data and carries no number. That ordering is deliberate, and it is the one thing on this page most worth getting right.
The journey
Create your account and your company
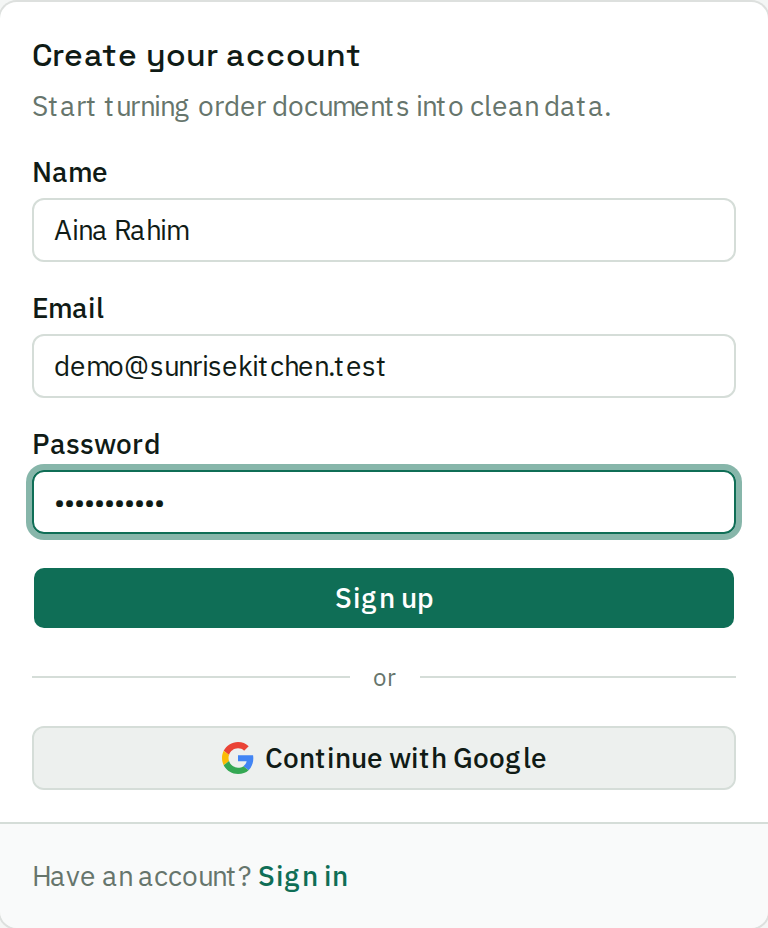
Sign up, then open the verification email before anything else — beres does not sign you in until you do. The company you create next is yours, and you are its admin.
Done when: you land on Home with your company name in the sidebar.
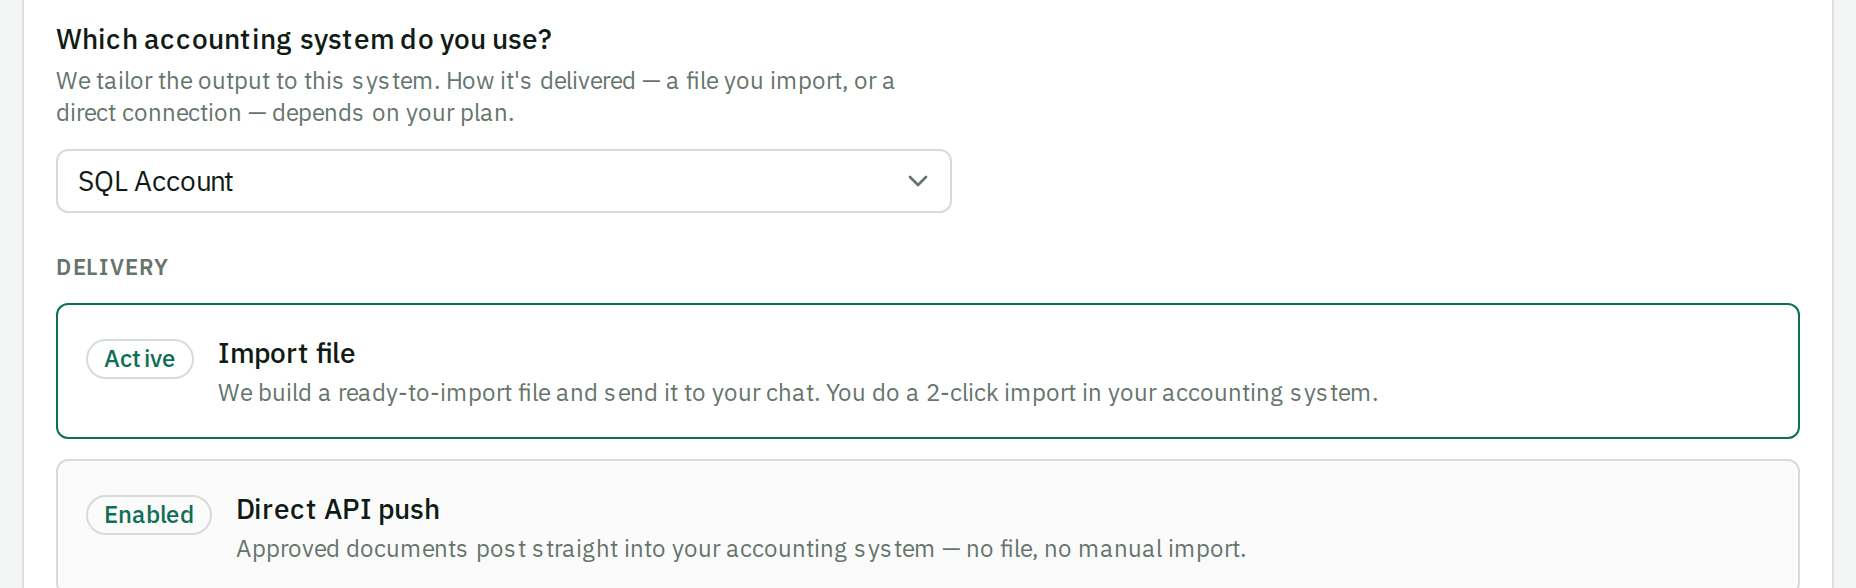
Detour — only if you need more columns. Your accounting system accepts fields beres does not fill by default: a project code, a tax code, a currency rate. You add them in this same panel, per format.
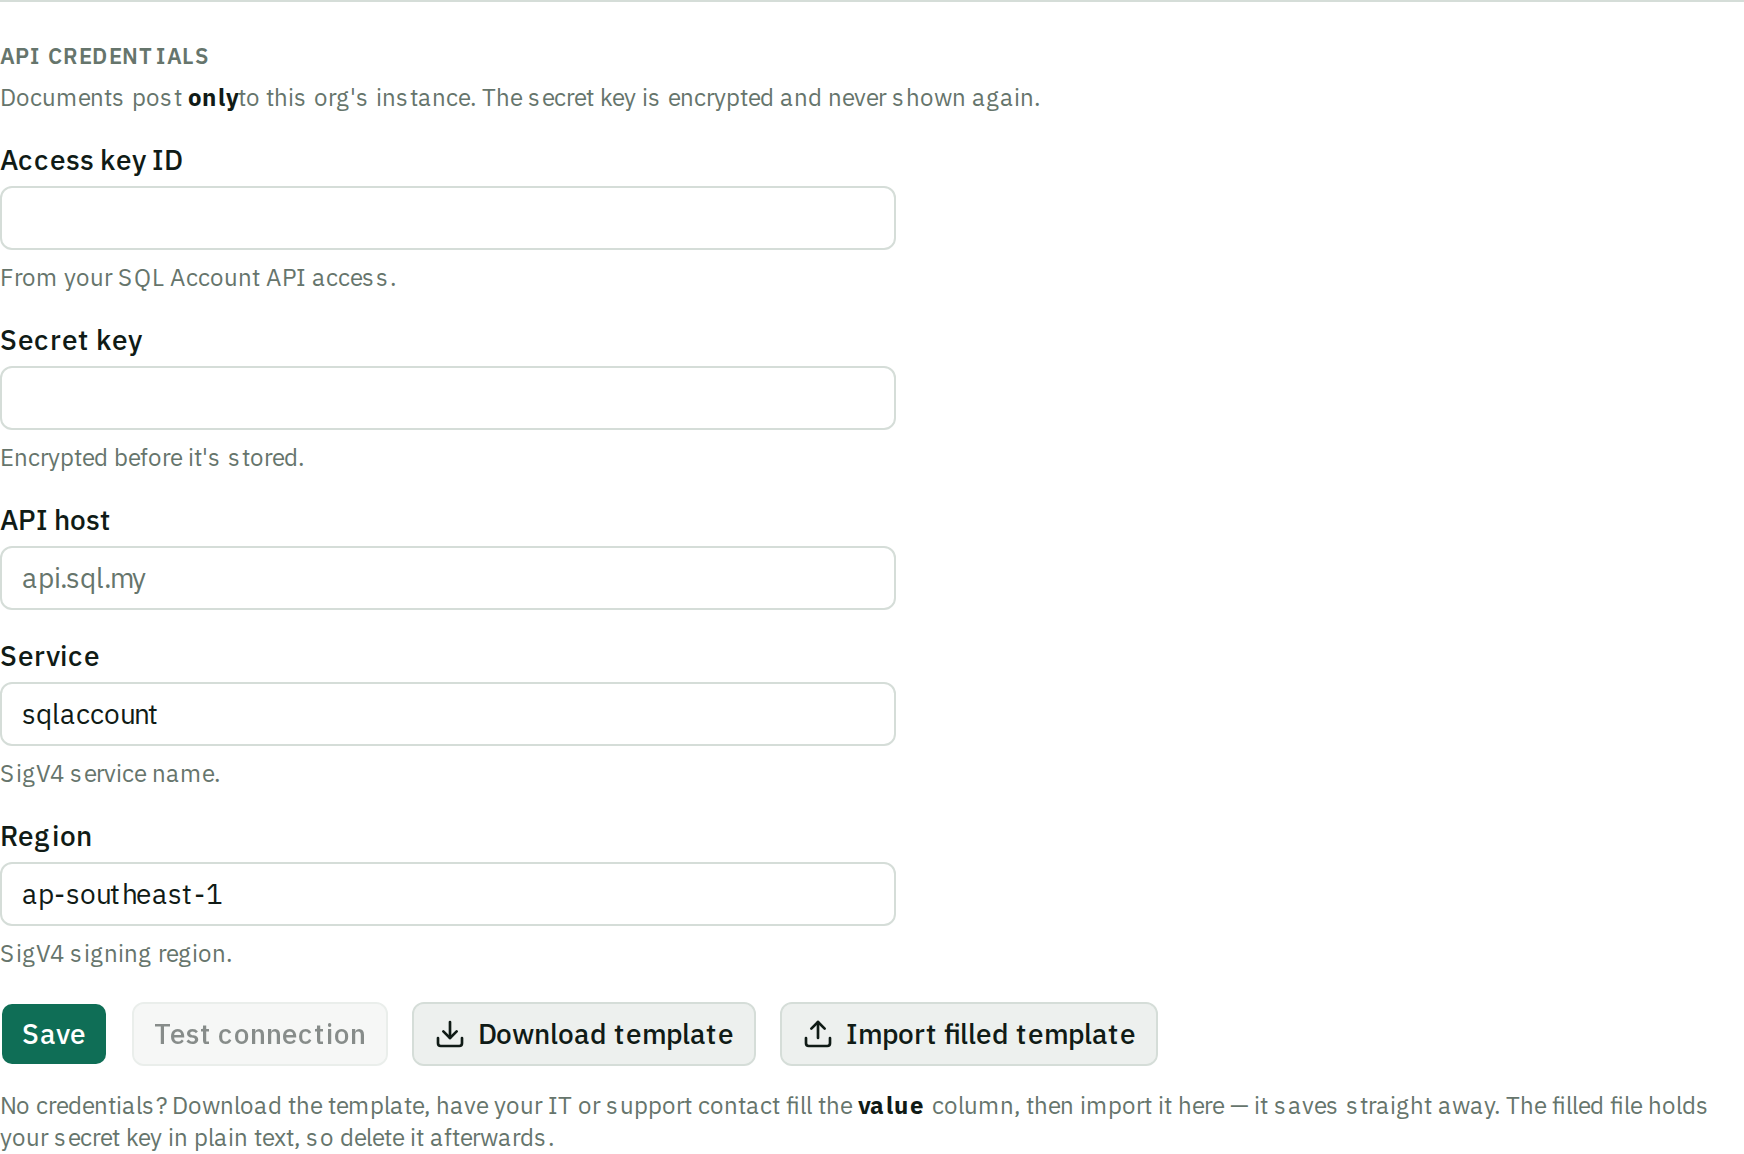
Only if your system accepts a direct push and your plan allows it. On a file-export system there is nothing to connect — skip straight to the next step.
Done when: the credentials panel reports the connection as verified.
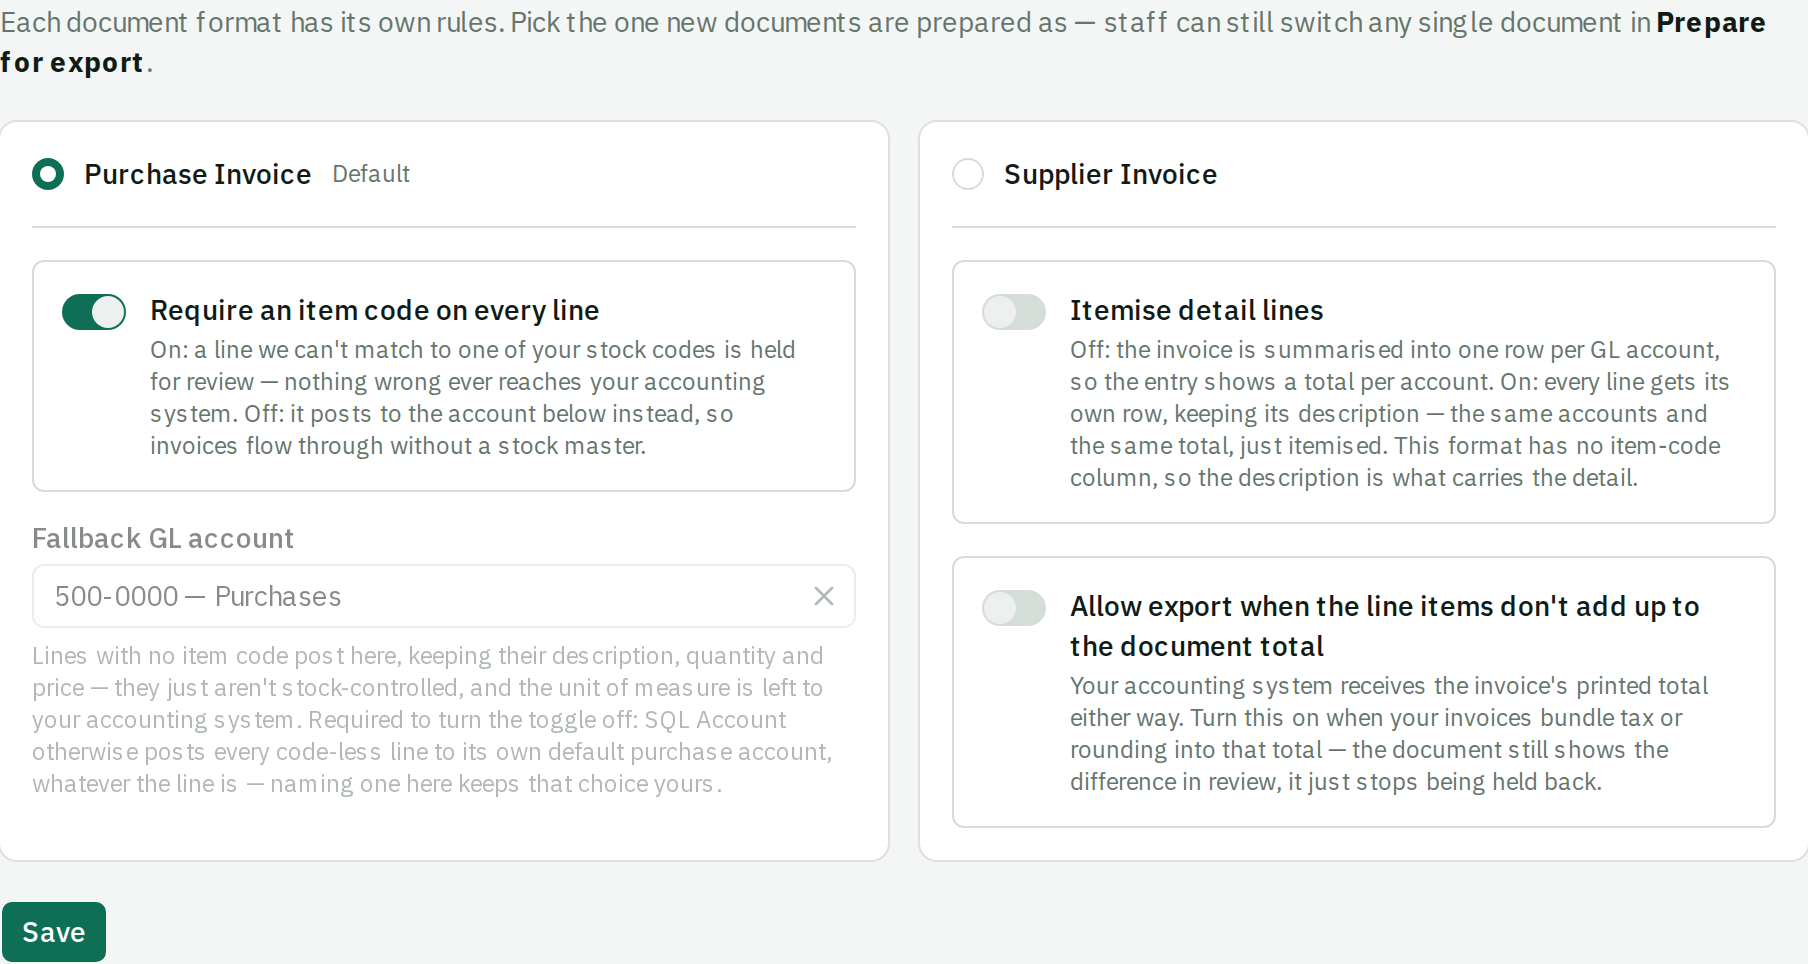
Which format new documents are prepared as, whether an item code is mandatory, which account to fall back to, and how strict to be about a total that does not match.
Done before master data, not after — the format you pick here decides which code lists you actually need.
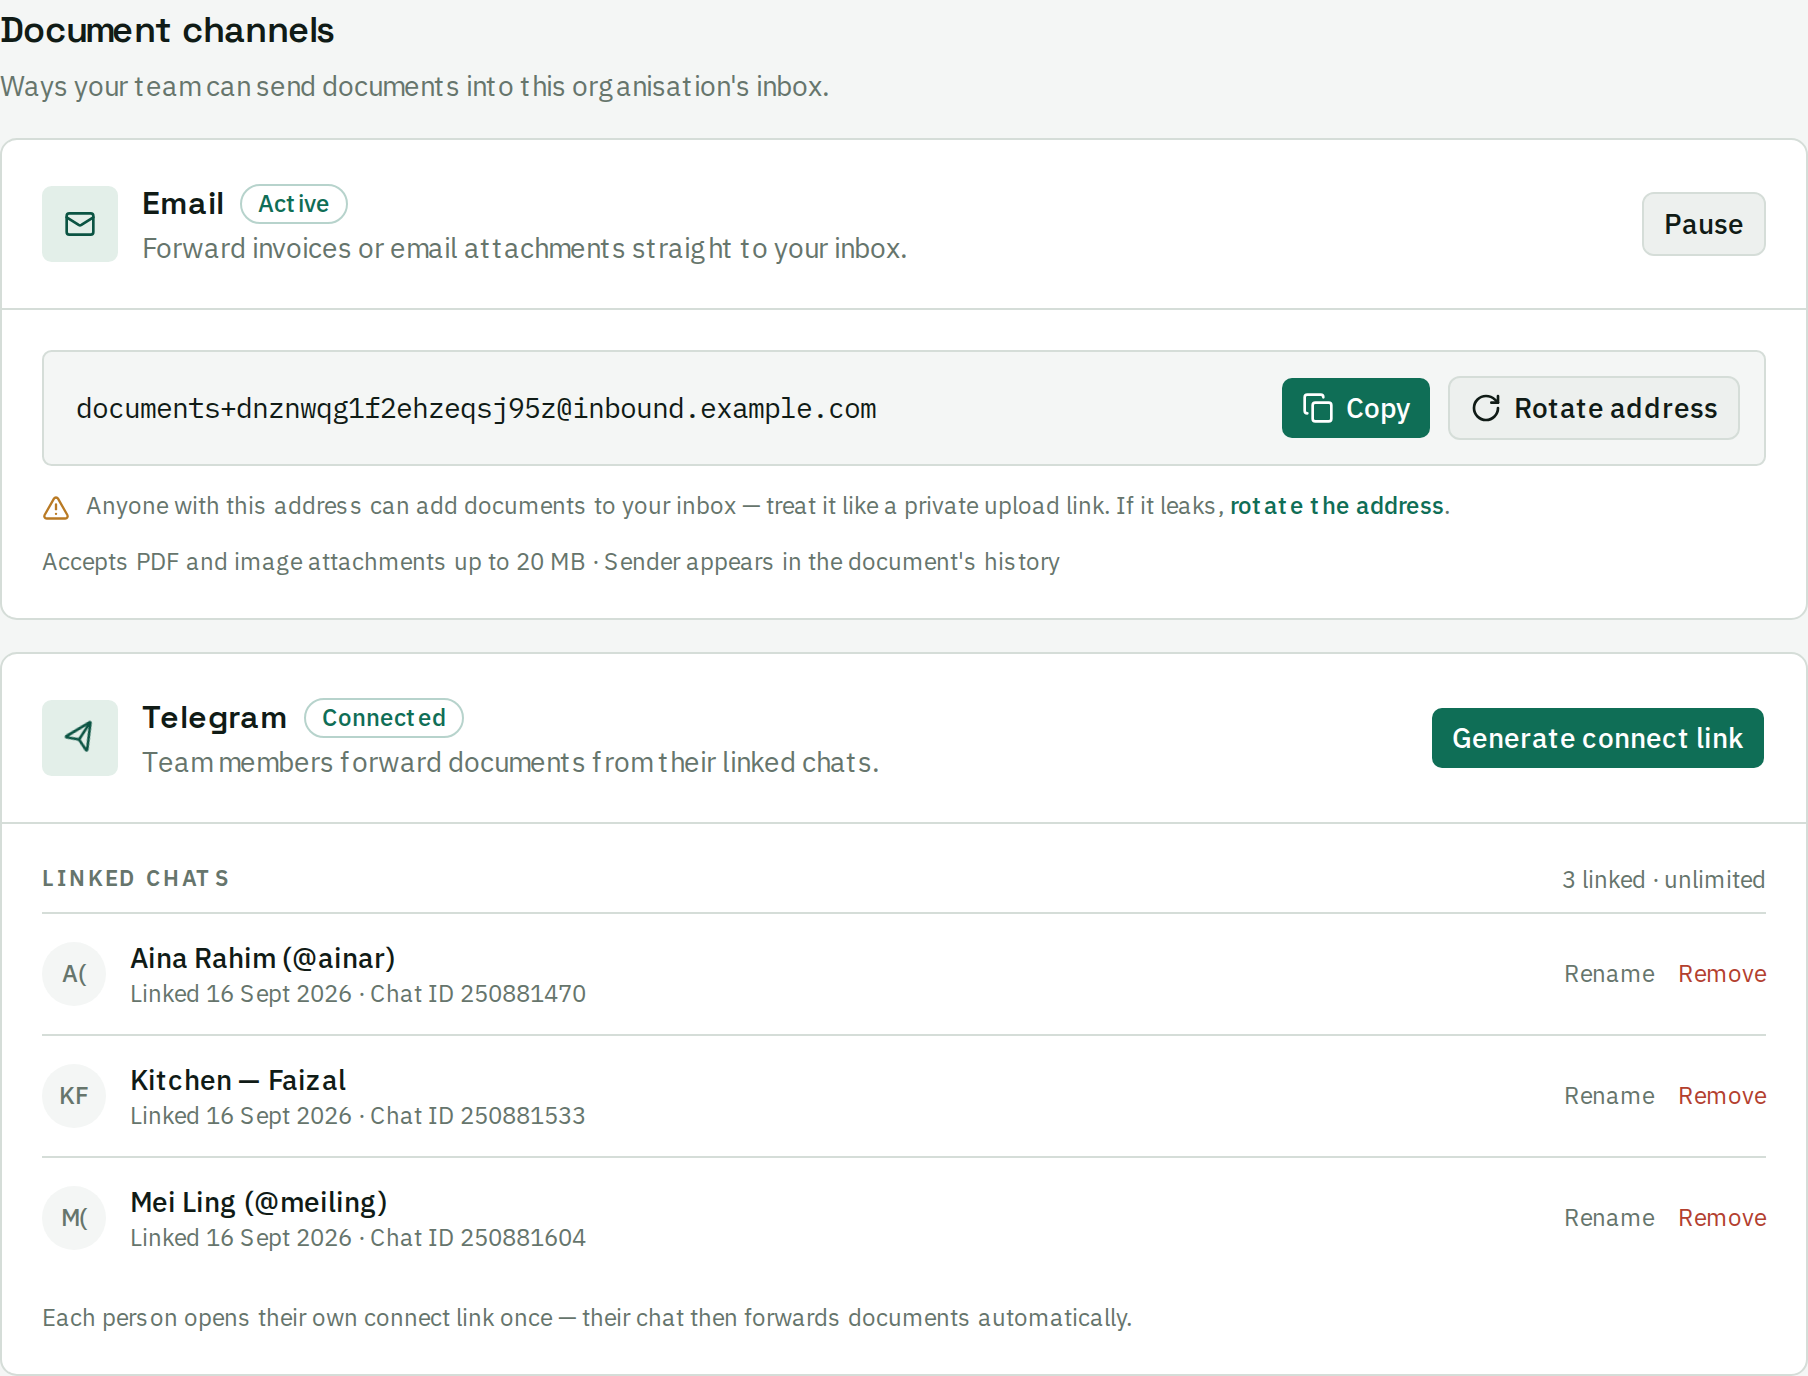
Telegram: generate a connect link and send it to one person. They open it and send /start once, and that chat is bound to your company. Each person needs their own link, and a link is single-use and expires in 15 minutes. Email: nothing to bind — your company already has an address, and anyone can forward to it.
Done when: a document you send in comes back extracted.
Reviewer is the default and is the right choice for almost everyone — it lets someone do the whole daily job without being able to change your configuration. Choose Admin only for someone who should be able to change it.
Done when: they accept and appear in the members list.
beres meters pages, not documents — a three-page invoice costs three. Check the allowance against what you actually send in a month before you commit to a term.
Done when: the plan shown in Settings is the one you meant to be on.
From here the work is daily, and most of it is not yours. Your reviewers receive documents, correct what beres could not resolve, and send them on. You come back only when the configuration needs to change — a new format, a new channel, a different rule.
Walk your reviewers through the reviewer journey so they know where their job starts and stops.