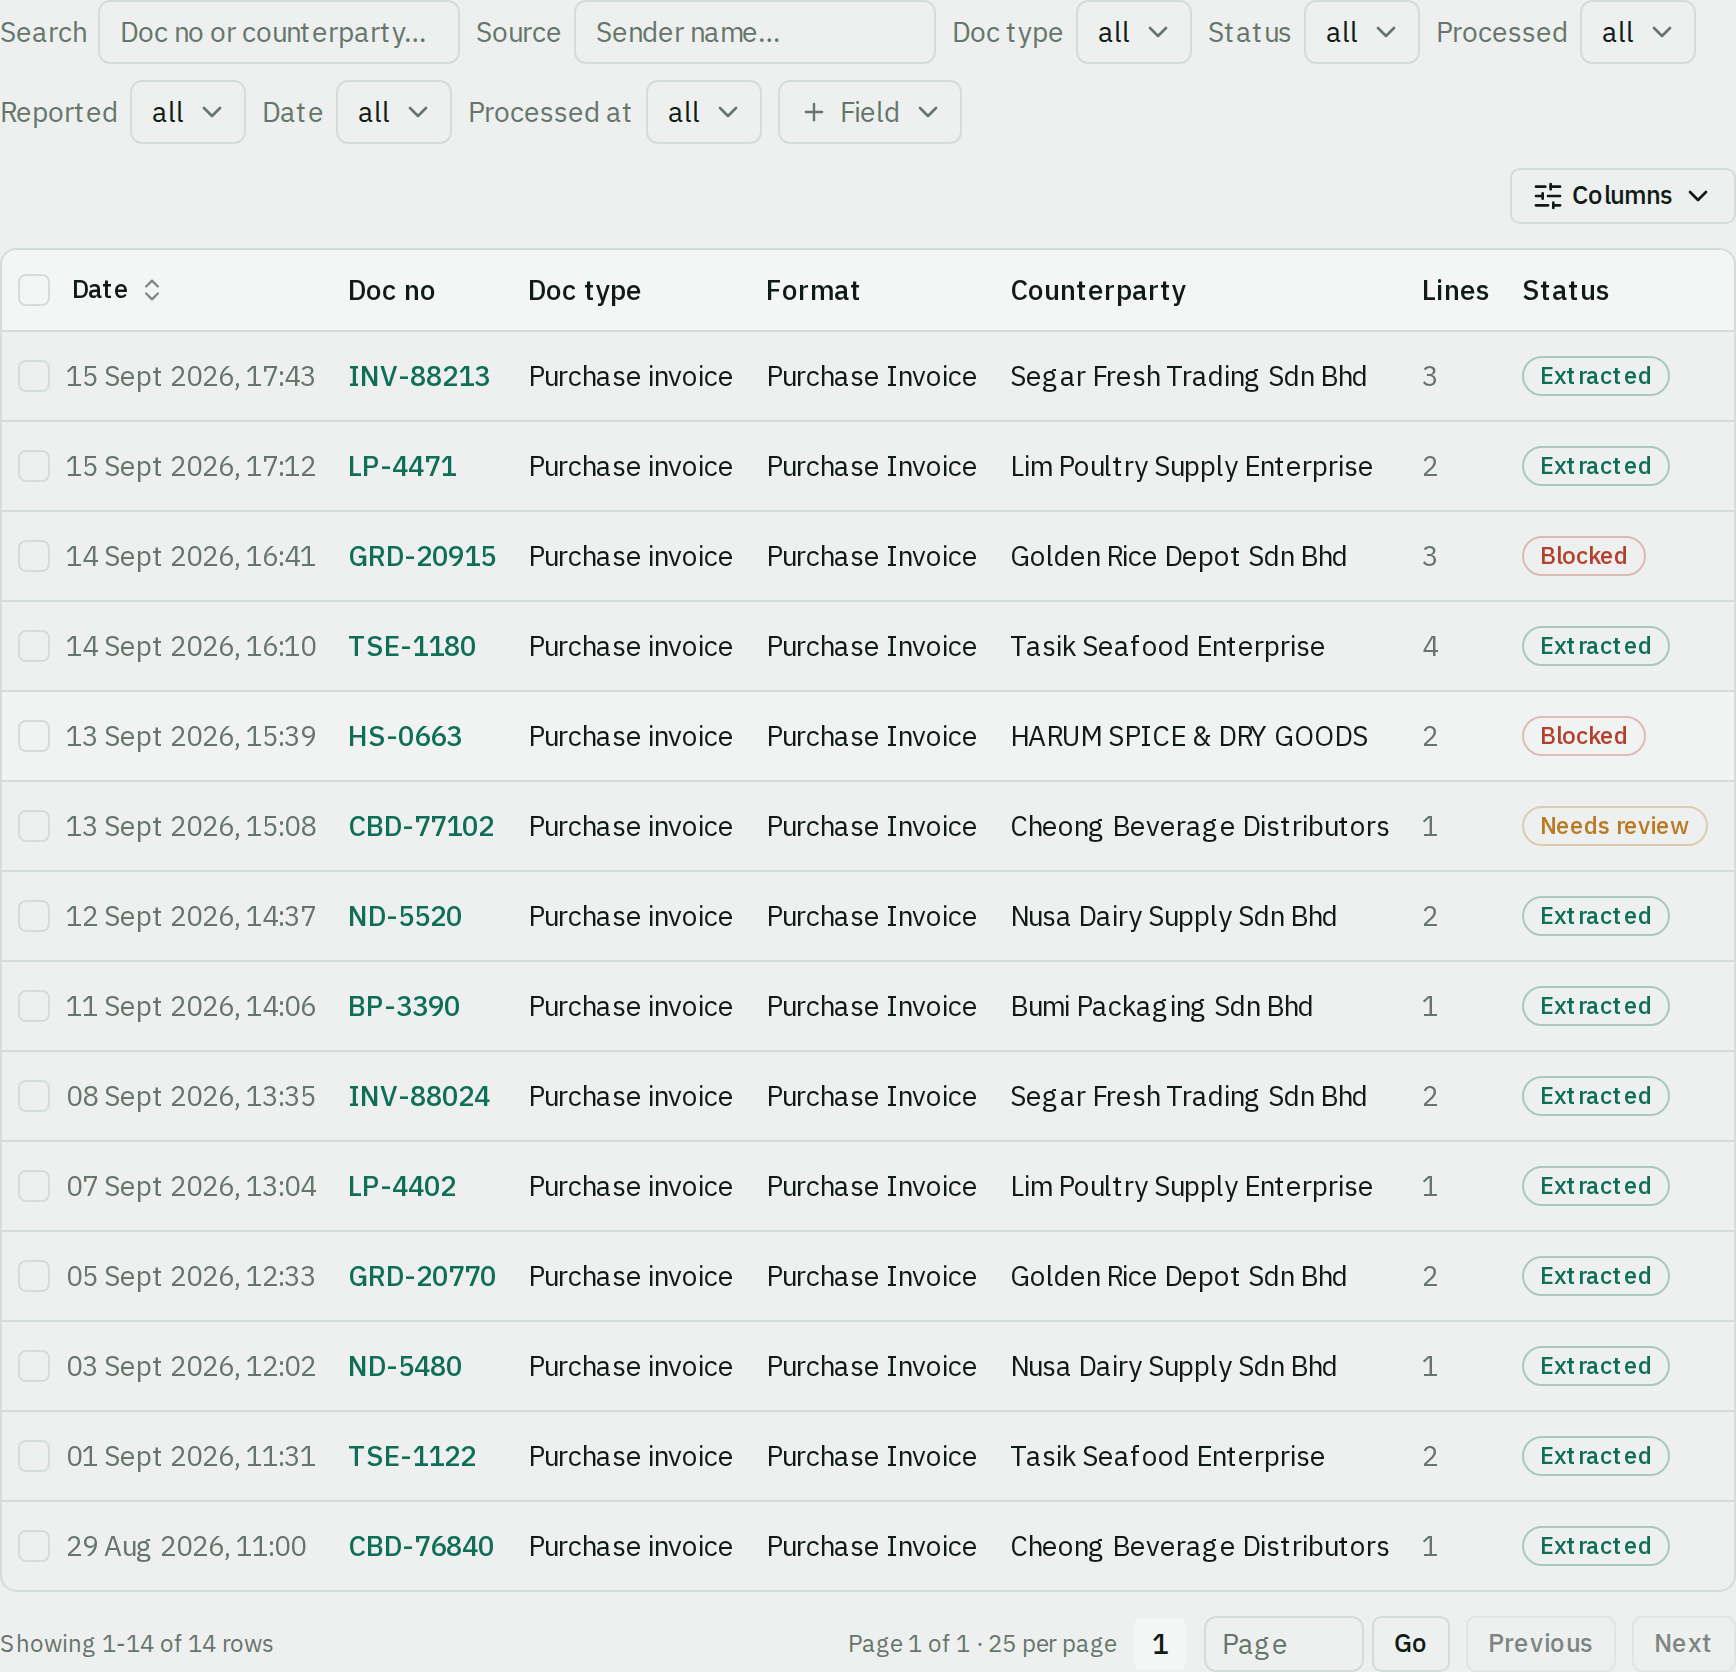
Everything a reviewer does, from the invitation email to a document sitting in your accounting system. Steps 2 to 6 are a loop — you will run them every day.
The short version
You cannot change how the company is configured: the export target, the workflow rules, the billing plan and the team list all belong to an admin. Everything else is yours. Receiving documents, correcting them, importing codes, and sending the finished batch to your accounting system are all things you do without asking anyone.
That surprises people, so it is worth saying plainly: no part of the document workflow waits on an admin. The full list of what each role can touch is on Permission problems.
The journey
Accept your invitation
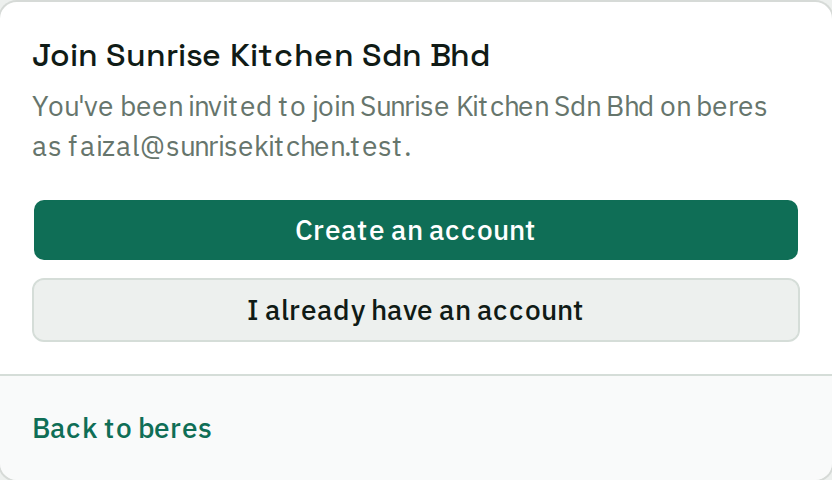
Open the link your admin emailed you. If you do not have a beres account yet, choose Create an account — verify the email it sends, and you are returned to this same invitation to finish joining.
Done when: you land on Home and the sidebar shows your company's name.
Do not sign up separately first. Creating your own account from the front page makes you the admin of a brand-new empty company, not a member of your employer's. If the sidebar shows a company name you do not recognise, that is what happened — ask for the invitation again.
The invitation is single-use, it expires, and it only works while you are signed in as the exact address it was sent to.
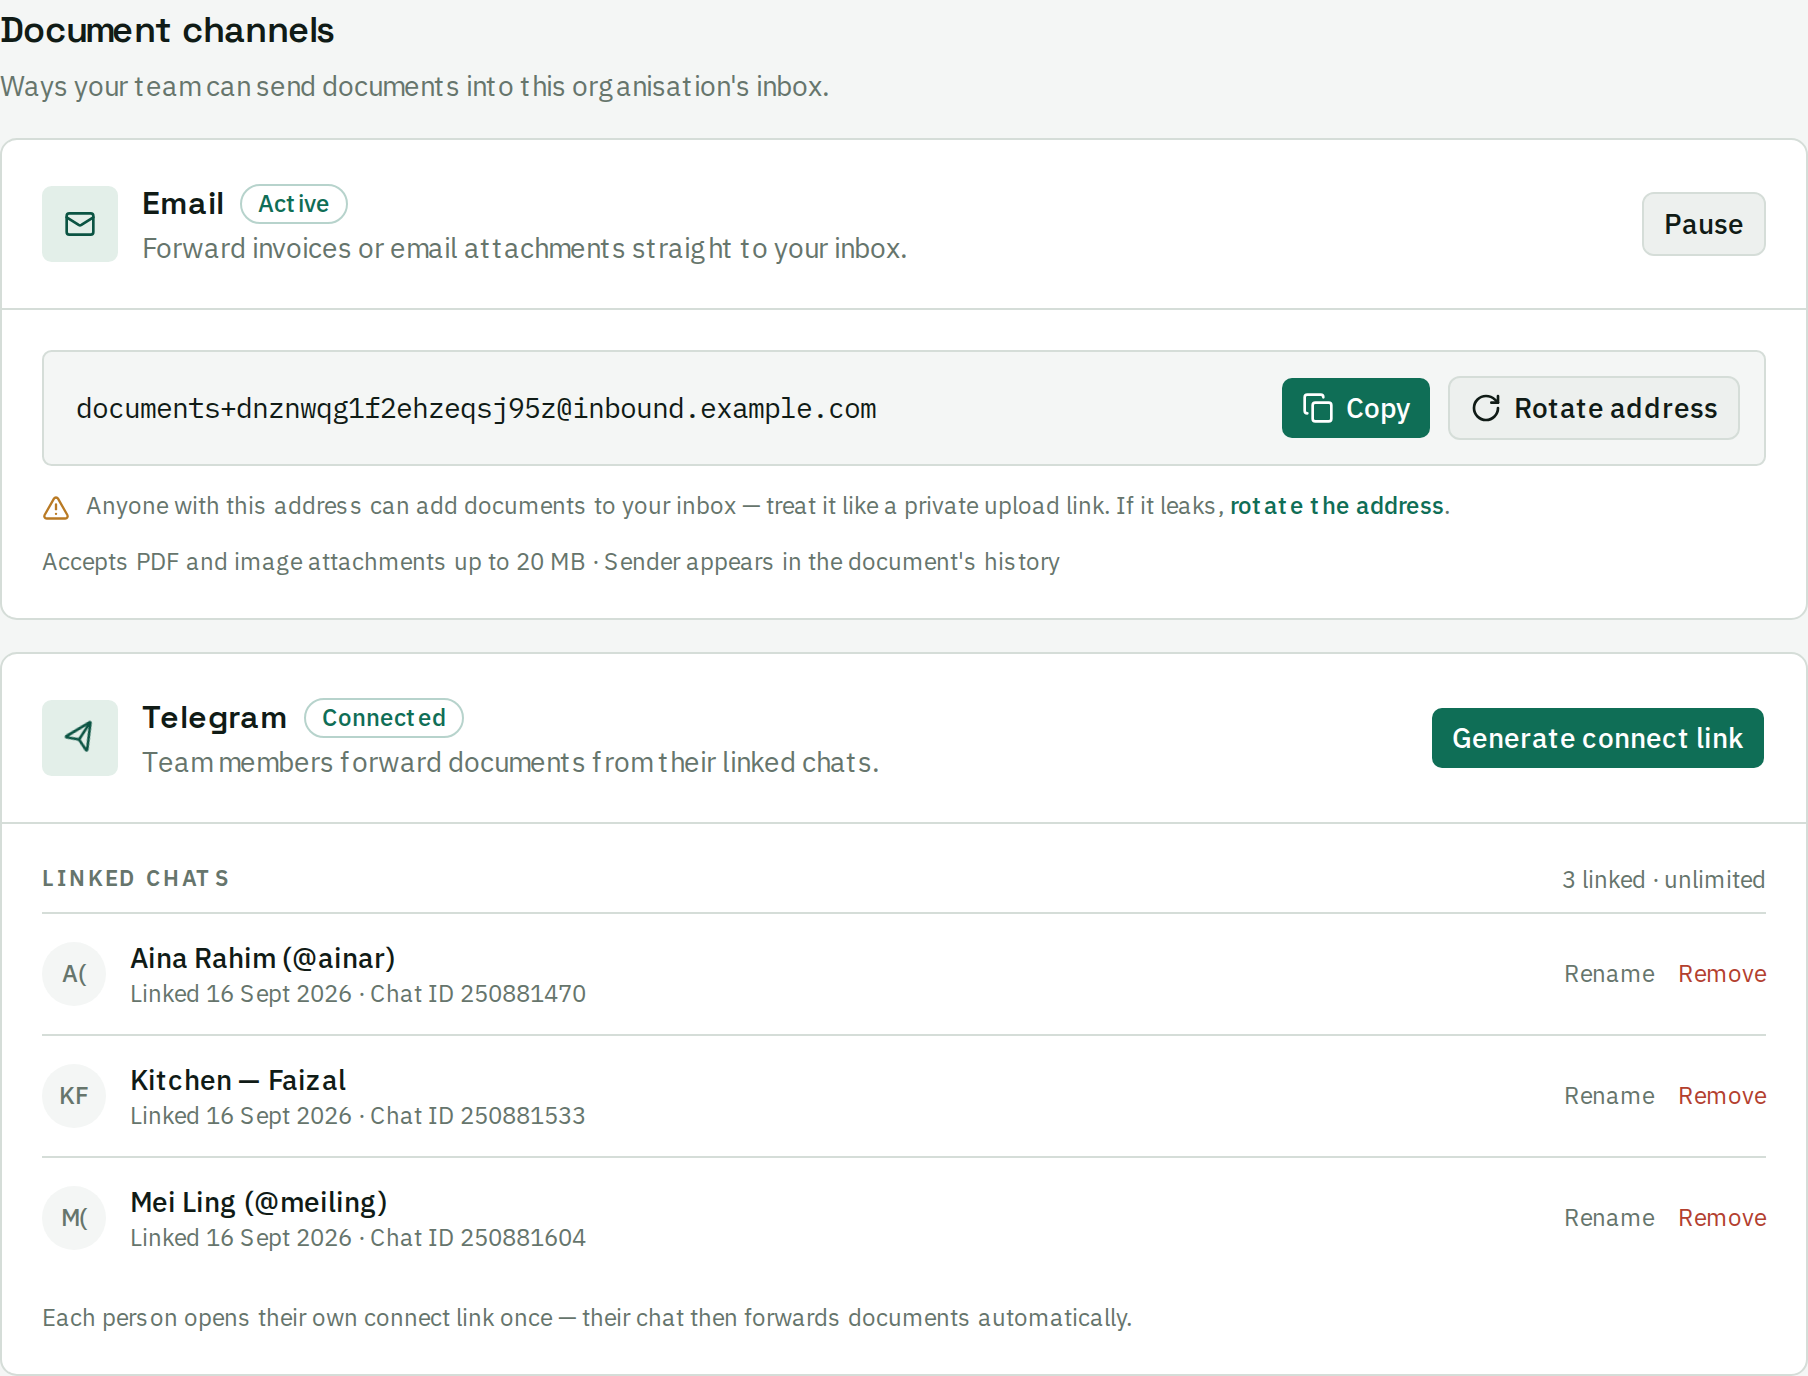
By email: nothing to set up. Forward or photograph the document to the company address shown in Settings → Channels. By Telegram: ask an admin for a connect link, open it on your phone and send /start once. That binds your chat, and from then on you just send photos to the bot.
Done when: you send one in and it comes back with the supplier and lines filled.
You cannot generate your own Telegram link — that one is admin-only, on purpose: a link binds a chat to the whole company. Ask an admin, then open it within 15 minutes.
Check the Inbox
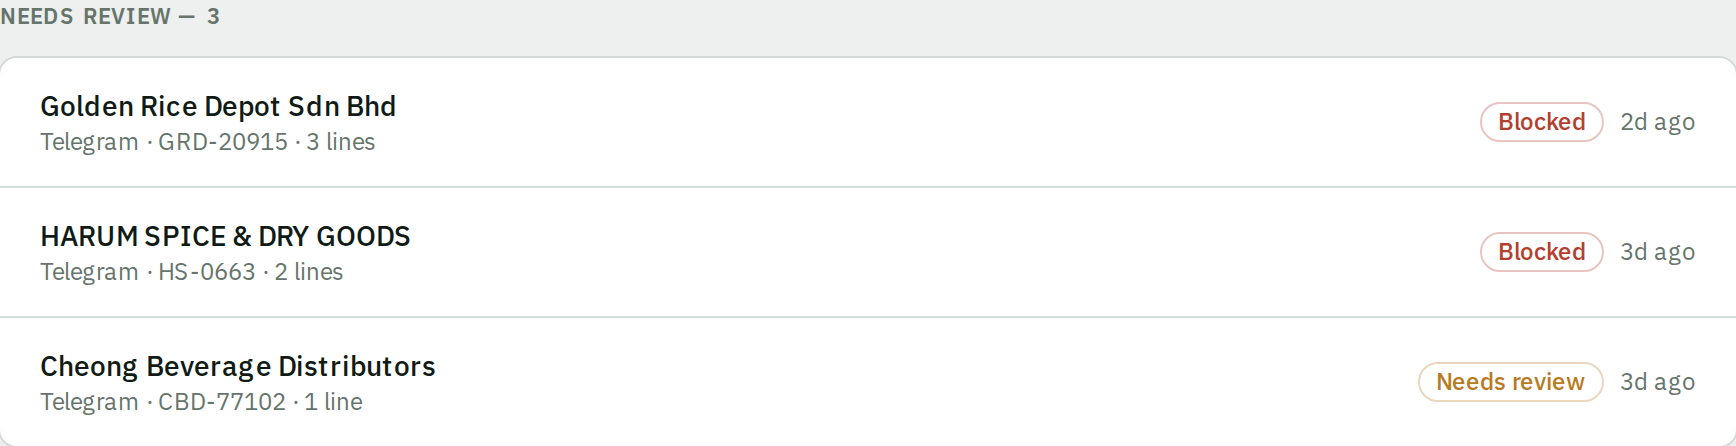
The Inbox is not a list of everything that arrived. It is only the documents that need a person — beres put the rest straight through.
Done when: the Inbox reads “Nothing waiting on you.” That is the normal state, not an error.
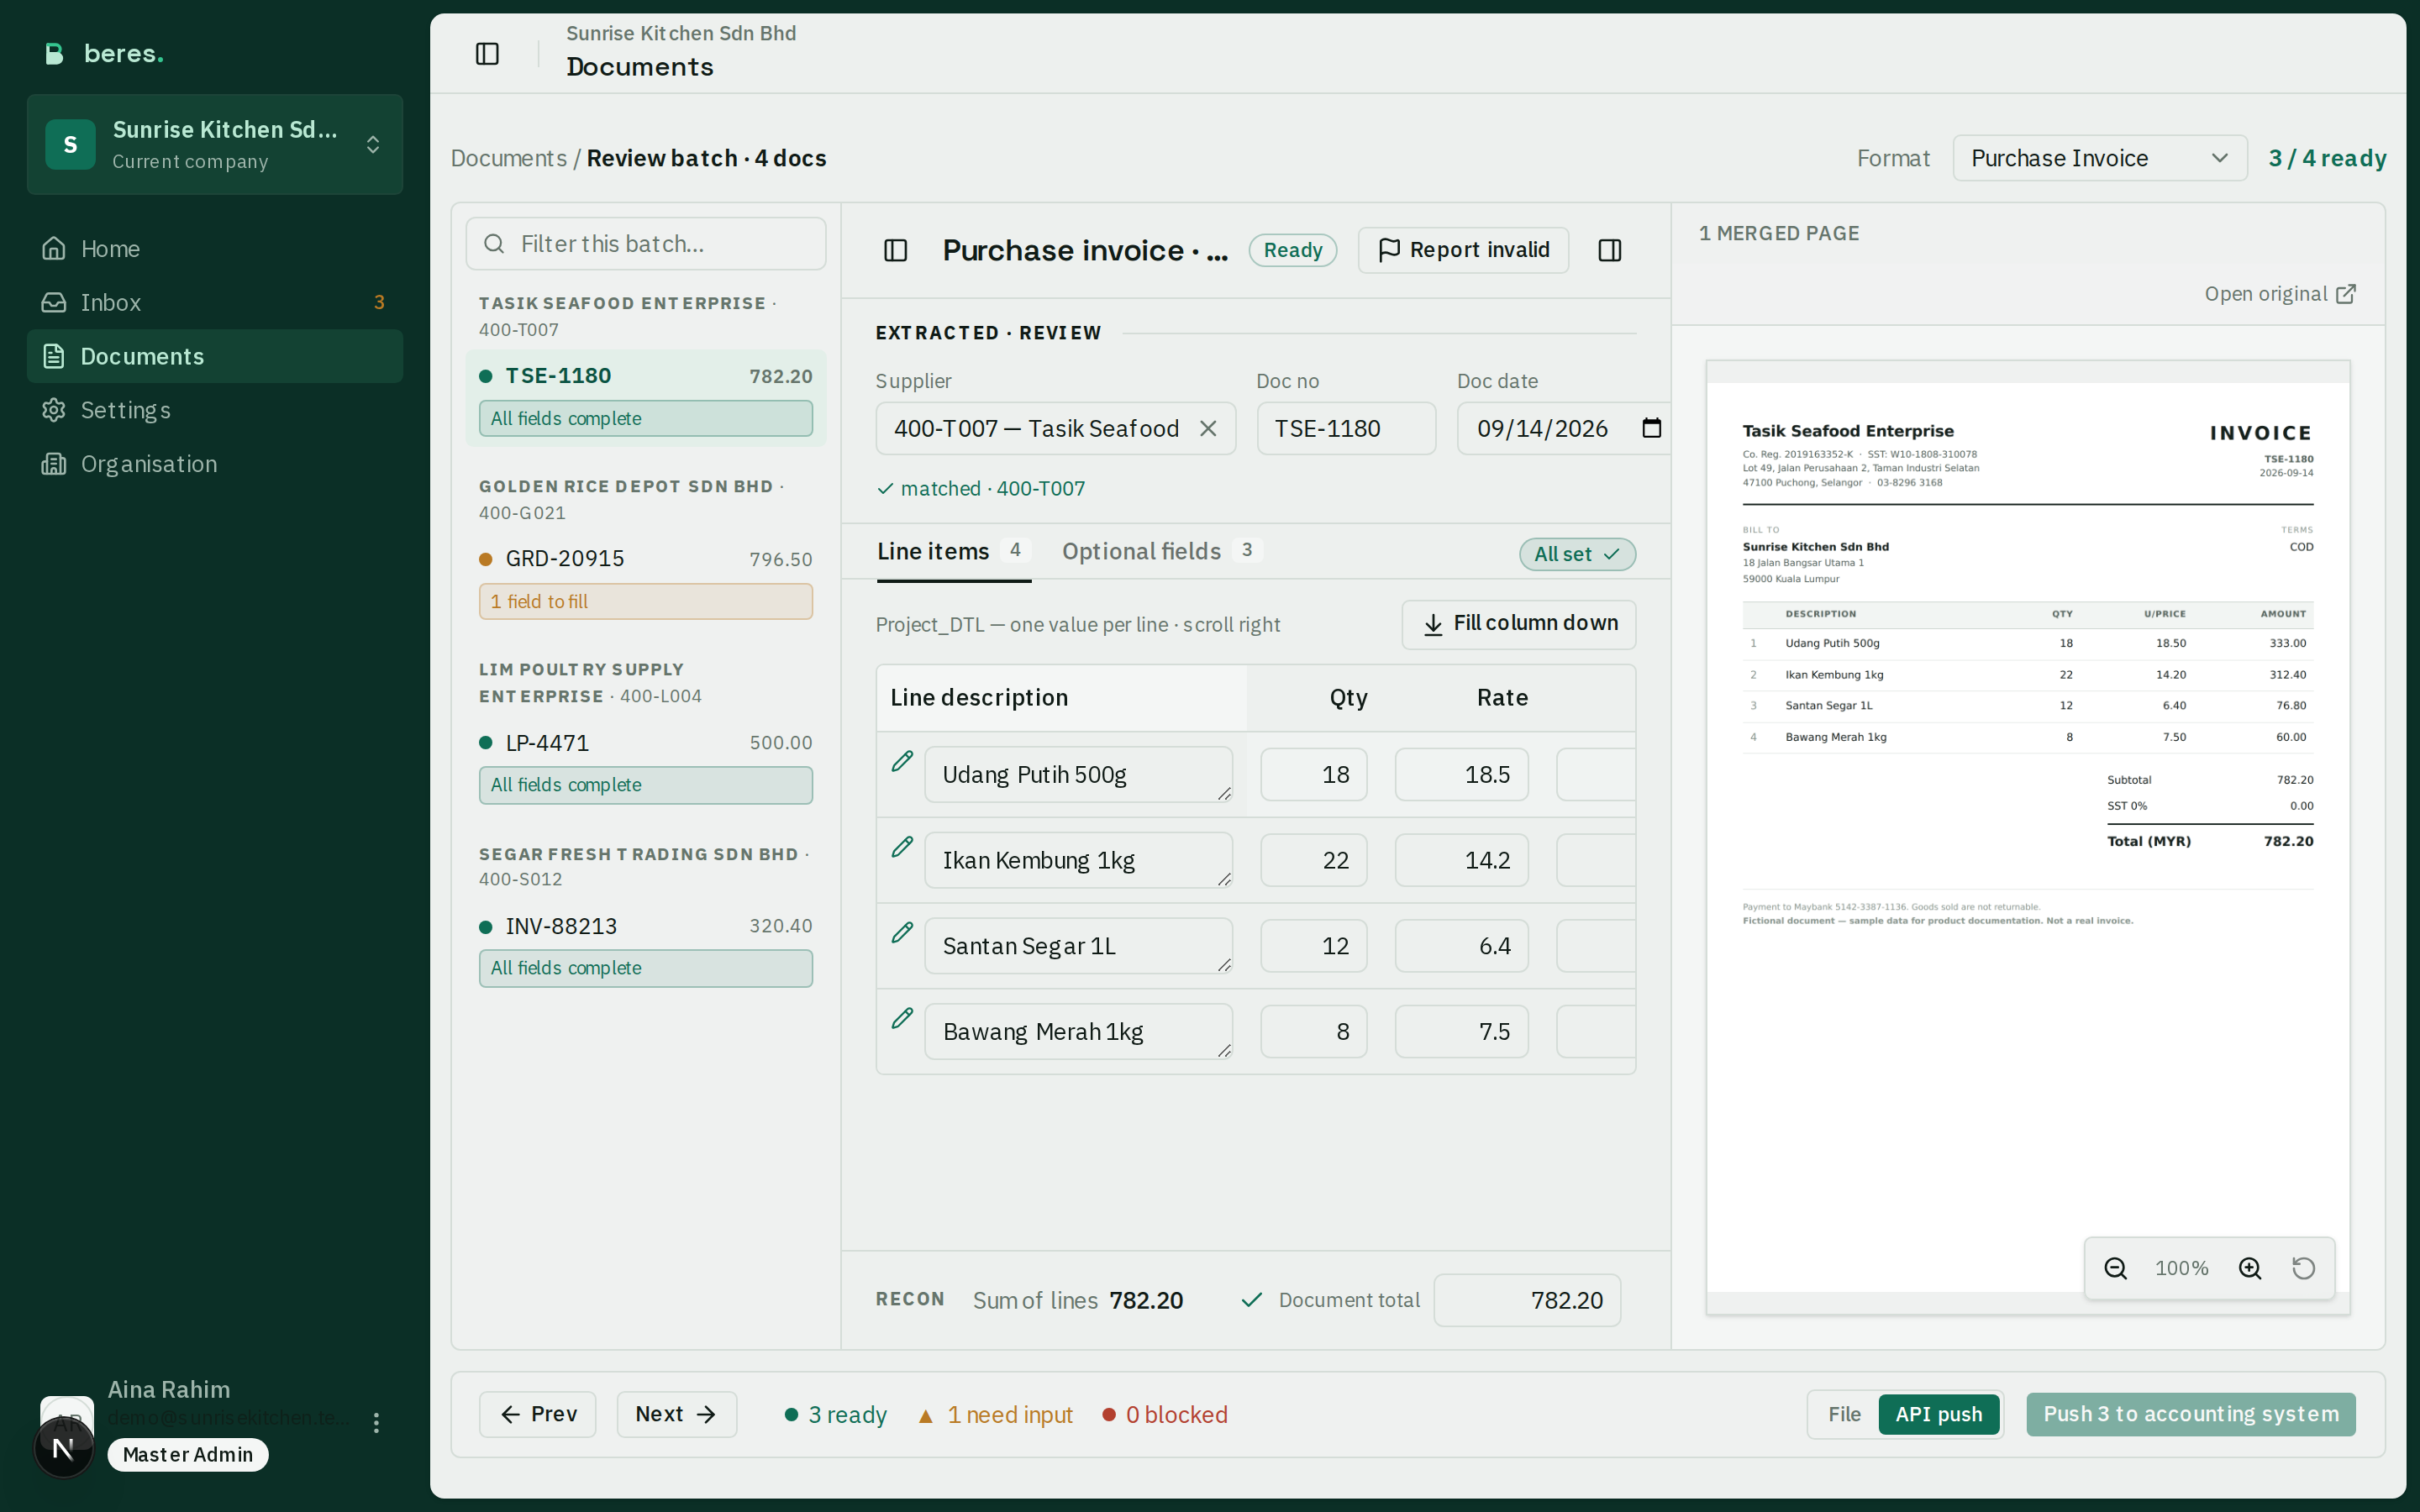
Fix the header first, then the lines, then any optional fields. Watch the reconciliation strip: it tells you whether the lines still add up to the total printed on the paper beside them.
Done when: the document's chip turns from Needs input to Ready.
A missing supplier or item code is yours to fix. You have full access to Master data — add the code once and beres will match it by itself from then on. This is not something to hand back to an admin.
Download the import file for your accounting system, or push the batch straight into it if that is switched on. Every document in the batch has to be Ready first — one that is not will block the button.
Done when: the file downloads, or the push reports the documents as sent.
A direct push marks the documents for you. A downloaded file does not — tick Processed yourself once you have imported it, so the next person can see it is already in the books.